

I'm hoping that I can get across (to anyone who’s interested and maybe looking for some inspiration) how I paint, what techniques and tricks I use and how even an amateur like me can get a good result.
So I dug into the mound of unpainted miniatures that shall henceforth be known as ‘The Leaden Pile of Shame’ and rescued a poor Reaper Bones Troll that’s been languishing in there for some time. I’ve chosen this one as it’s a wonderful sculpt with great detail but isn’t a particularly challenging model to paint due to its limited number of textures. Other than a loincloth it’s generally just skin claws and eyes.
The ‘Pile of Leaden Shame’ is full of miniatures I’ve bought and prepared ready for painting, the bases have been covered with sand and the model has been assembled (unless the assembly would make painting too difficult) and primed. I prime all my miniatures with standard auto white primer. I’ve tried Games Workshop’s Primer (I found the can I had a bit gritty) and Krylon (expensive but good quality) and now generally use the unbranded primer from Poundland. Yes that’s right, I buy my primer for a £1.00. It’s actually very good quality, gives a really smooth surface without obscuring any detail and gives a solid base to work on.
 Those
miniatures stay in the pile until I really need them for a game, get inspired
to paint one or until I can’t bear the shame caused by their pale accusing
faces staring at me from the desk.
Those
miniatures stay in the pile until I really need them for a game, get inspired
to paint one or until I can’t bear the shame caused by their pale accusing
faces staring at me from the desk.
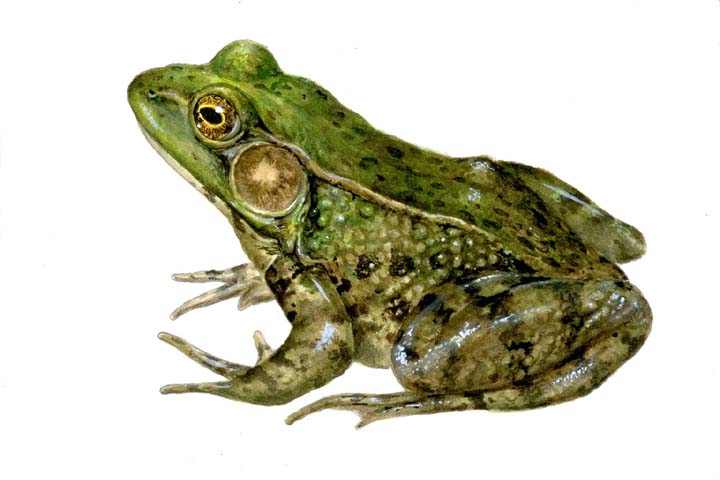
So on to
how I paint. I’m going to go for a fairly traditional green skinned Troll
and intend to build up the depth of colour with several washes. For
inspiration I’ve been kissing…..looking at Frogs.

So the
first step was a watered down base coat of Citadel Goblin Green (Now known as
Warboss Green). At this point I had a nasty surprise. The paint
really didn't want to stick. This can be caused by a couple of things,
the first and most common (i've been told) is an oily coating of mould release
agent and the second (and the one I suspect in this case) is a very smooth
primer coating mixed with too much water in the wash. I added a bit more
paint and that solved the problem.
Next I
added a wash of Citadel Agrax Earthshade which gave a nice definition to the
muscles and a brown tint to the skin tone which suited the swampy look I
wanted. Following this I added a wash of Citadel Waargh! Green Ink as I
wanted a slight blue tinge in the skin tone. In hindsight this was a bad
move, almost a disaster in fact as it completely overpowered the Goblin green
and the Agrax Earthshade leaving me with a really flat green skin.
 At this point I considered stripping the paint off
and starting again but tried a drybrushed layer of Goblin Green and another
wash of the Earthshade which worked out quite nicely. My next job was to
pick out the boils in Citadel Scorpion Green which is a really vibrant electric
green, I also used this to drybrush the highlights in. Final highlights
to the boils was given with Sunburst Yellow to make them pop and draw the eye.
At this point I considered stripping the paint off
and starting again but tried a drybrushed layer of Goblin Green and another
wash of the Earthshade which worked out quite nicely. My next job was to
pick out the boils in Citadel Scorpion Green which is a really vibrant electric
green, I also used this to drybrush the highlights in. Final highlights
to the boils was given with Sunburst Yellow to make them pop and draw the eye.
Next on
the agenda was the details, the teeth and claws got a touch of Citadel Ushabti
Bone with washes of Earthshade and Nuln Oil and a final highlight of Ushabti
Bone. When you add a wash, the base colour is darkened so you can use it
to highlight and it keeps the same tone and looks natural. The loincloth
got a pale tan base with washes and highlights in a similar fashion.
I then went to paint the eyes and got another nasty
surprise. You can barely see them let alone paint them. In the end
after several unsuccessful attempts i shadowed the eyes with Nuln Oil and
highlighted the cheeks to make the eyes look deeply inset and left it at that.
Its not 100% finished as I want to hit it with some
Army Painter Antishine and then gloss varnish the boils, nostrils and lips but
I doubt my photos would pick that up so it can wait.


No comments:
Post a Comment